Vintage Bar Clamps Refurbished

Pipe Clamps are used in woodworking for glue ups and also used in making other style clamps. It's said, one can never have to many clamps. So when I found these vintage pipe clamps in the back, in the corner, in the dark of a wet and musty utility room I was redoing, despite the fact they were all rusted and froze up, I'd rather refurbish and make use of them than toss them out. And that process my friends is what I'm going to go over today. So lets get into it...
The Clamps:
The pipe clamp you see to the left in the opening image is Craftsman model 6874-2. The pipe clamp to the right is a Brink and Cotton model 500-2. Both are for 3/4 inch pipe and the length of pipe is how long the clamp will be. I think everyone has heard of Craftsman Tools before but perhaps like me, you've never heard of Brink and Cotton tools. On the clamp it simply has stamped B & C. In looking it up online, I was introduced to what it stood for and that is Brink and Cotton. Though interesting enough for those that like tools, I'm not going to get into the history of the Brinks and Cotton Tool Company other than to say they were a clamp maker from Bridgeport Conn, having started back in the 20's maybe even earlier, reported to have invented the pipe clamp and the company changed hands several times since... and vanished along the way.
If you would like to know more about B & C Mfg, here is a link to a blog post by Progress is Fine that goes onto more detail about their history entitled, "Lost Tool Makers Brink and Cotton."
When I first came to own these two clamps about a year ago I'd say, I gave them an initial quick once over on the wire wheel just to see if I could get them to function again. And they sat unused because quite honestly - I hate using tools that are all rusted up or covered in grease etc. It gets all over your hands, in the finish, in the wood or what ever it is you are working on. So they got set aside till I could bring them back to working order properly. And they rusted up again... but not nearly as bad as when I first acquired them. I was smart enough to doise them with a healthy dose of penetrating oil after the initial wire wheeling before sticking them in a box to be dealt with later. I point this out as the before pics are not nearly what they were when found amongst other rusting junk.
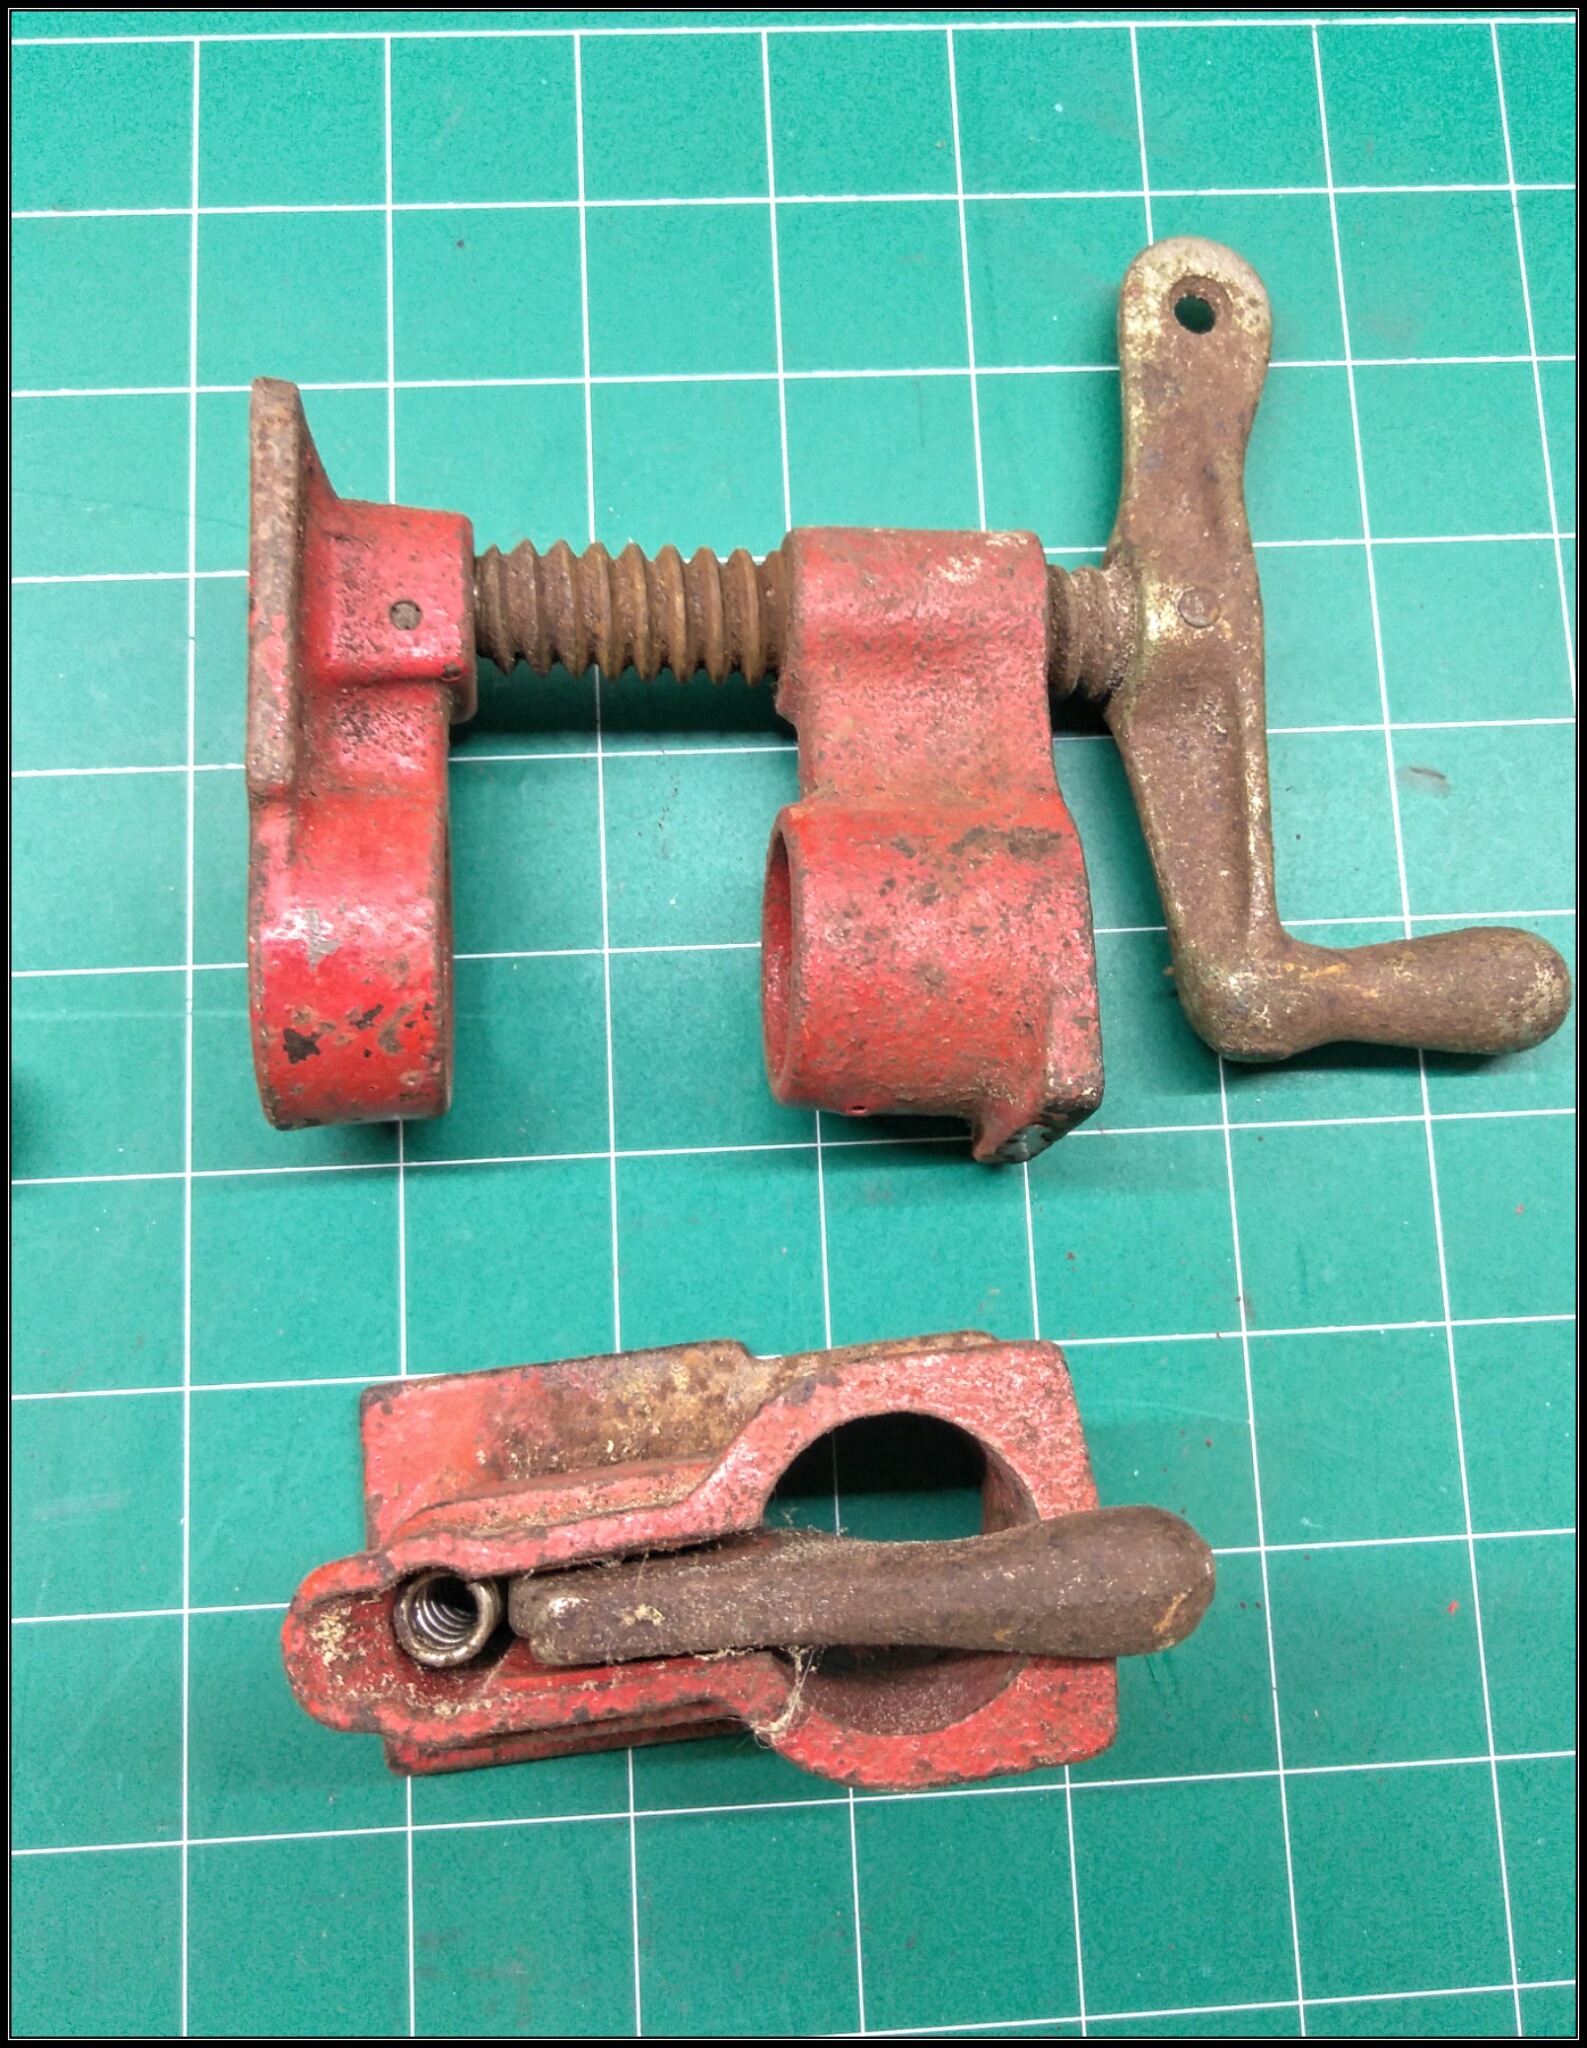
The Craftsman model 6874-2 is seen below.


It can be and was taken completely apart for the restoration process as you can see in the following image...

I could do so because the Craftsman has through hole pins. There's a hole on both sides which you can tap the pins out with a punch. Notice on both pins there is a front and back side. That little crimp is the back side, it's widest and what holds the pin in. You'll have a heck of time and probably bend your pin punch if you try and drive it through from that side. You need to back them out by punching the opposite side of those crimp marks.
The Brink and Cotton model 500-2 I couldn't get the actual pipe cinch lever removed because there isn't a through hole for the pin that holds it in. There's only one side that has the hole. They peen over the edge of the housing to hold the pin in place. I may have tried to remove it if I had the proper tools to remove it and put it back but I don't so it stayed in.

The spring is wider at the bottom on both. That's what holds it in. If doing this to a clamp you have like these, it takes some coaxing but it'll come out with out too much trouble. Or should.
Prepping for Paint:
The process I use for rusted parts is pretty much the same at this point. I wire wheel, if need be give it rust remover bath, do a final wire wheel and sanding if needed.
I don't have a sand blaster or any of the fancy rust remover baths they sell and from what I hear are pretty dang good. Maybe one day I'll have those options to choose from so for now I use a poor boy rust remover. White Distilled Vinegar. Cost a couple bucks a gallon. And yes it will hurt or eat at unrusted metal and may discolor it as well. It works and works well but keep an eye on it and use it with discretion.
As stated I wire wheel all the parts first to remove as much rust as possible first before the vinegar bath. What areas I can't reach with the wire wheel, I hit with a wire brush. By doing so I limit the time needed for the parts to sit in the vinegar bath. Sometimes it just takes an hour in the bath other times longer. These parts took around 6 hrs as there were some areas that were pretty heavily rusted I couldn't reach. That said, I don't wait until the rust can be wiped off with your finger. I check it often using a little tooth brush size wire brush. I don't want the metal sitting in vinegar any longer than necessary.
After you do this a few times you can kinda judge how long it will take. In my eyes view, I want it coming out of the bath, being neutralized, putting it back on the wire wheel or doing whatever final sanding you need to do and get paint on it as soon as possible. It will flash rust after after it comes out of the bath most times. What I do to stop that is hit the parts with something like WD-40 right after I neutralize and rinse the parts off coming out of the vinegar and drying them off. Don't work on the next part until you coat it with WD-40 or it will be covered in surface rust. Just a little tip for you.
Here are the parts after coming out of the neutralizing and final rinse... See.. No flash rust!

Next take them over to get the final wire wheeling, and some sanding if needed. Mask off where needed and lets get some paint on these suckers!
Finishing:
With the exception of the one part of the B&C clamp these would have been a great candidate for powder coating. I really want to get set up for it gear wise and I have been looking into it. Until then, I opted to go rattle can.
The paints I used are as follows:
Krylon Fusion Satin Black - For a single part rattle can I really like the adhesion of Krylon Fusion paints.
Krylon Color Maxx Cherry Red - My first time using it and the only reason was due to color. I couldn't find Cherry Red in the Fusion paint.
Rust-OLeum Universal Advanced Metallic Dark Steel - Personally I'm not a fan of Rust-Oleum paints but I have used this particular paint in another color on a shower window handle and so far, after a year, it still looks good.
Normally I spray my initial coats, wait a couple days, sand and recoat however many coats I deem. For these clamps I opted to do a single days spraying. All parts received 4 coats. And got hung in the drying tree... it's the only tree that has branches I can hang from and gets sun. lol

For the B&C main body which I could get the cinch out of, that I took a different approach with. I laid it on it side and sprayed half. Then waited about an hour and half, flipped it over and sprayed the other side. It was the only way I could get both sides of the handle in one day. You'll see I have a piece of fresh blue tape to keep the cinch and the side separated while it cured up.

Cure time for all paint used was suppose to be two days. I found the Cherry Red Krylon Color Maxx needed longer. It was still too soft to assemble I was to find out and scared easily. So I waited an extra day before final assembly and paint. Even then it was too soon. It could have used a week.
Putting it all back together was easy enough. I'm glad I took picks though. Once painted and all mixed together I forgot which went to which. Having the initial pics helped a lot.
Here's some pics before and after assembly pre-final paint:


More paint!
Yeah I know... I wanted white accents so I mixed up a tiny batch of gloss white by One Shot and I think it's just what the doctor ordered. Made all the difference.
This is the Craftsman


And here is the Brink and Cotton:


And a final look at the before and after...


And that project is now complete and can be taken off the list.
These clamps are ready for use...
Till next time stay creative people... if nothing else, damn sure stay happy.
cheers all...
Comments
Post a Comment