Dromida Vista FPV Mods

The Dromida Vista comes as a stand alone quad or the FPV version such as I have. It's a lot of fun to fly. But as a true FPV quad using Wi-Fi, the lag from camera to screen really prevents you from using it in true FPV fashion. This doesn't mean you can't have a lot of fun with it. And use it to take some video of your time in the air. Or have fun modifying it. Here are some such modifications I did to my Dromida Vista FPV. And yes, that is a Dromida Vista in the above image.
Battery Compartment Mod: If you own a Dromida Vista and searched the web for more info on them you probably already know of this modification. If not do a search and you'll find several video's on how this is done. It's a simple mod that allows you to not only adjust the CG by moving the battery fore and aft but allows you to use bigger batteries such as seen below:
 |
Left to right:
The stock 850mAh 20c battery that comes with the Vista
Lectron Pro 1000mAh 30c
Heli-Max 1200mAh 30c
|
The mod consists of removing the tab towards the front of the craft on the battery compartment to allow the battery to slide through. Hence you can use larger batteries and as mentioned adjust the CG.
Here's a photo after the battery compartment mod with a larger battery as seen from the front of the Vista:
 |
Battery Compartment Mod allows the CG to be adjusted
and larger batteries to be used.
|
A tip for you if you are going to do this mod is to leave just a hair of the tap still sticking up to "grab" the battery. Some are slimmer than others. Leaving just a tiny bit helps.
Camera Platform/Mount Mod: I don't know anyone that has done this one yet, and if they have I haven't seen it or they didn't post about it. It's a simple mod that allows a better angle for the stock Drone View Camera. If I can't use it for FPV, then use it to practice taking some aerial video or stills. For that I wanted a better angle.
Again simple to do. I simply replaced the forward most lantern dampener with a larger one which was also stiffer. It's from the Vortex 250 Pro Camera Mount kit. Which by the way, the combination of the two stiffness's of the dampeners seems to be helping to remove even more vibration on the Vista.
Some pics of the camera mount mod:
 |
On the left is the stock Vista Battery and Camera Mount
On the Right the Modified Battery and Camera Mount
|
Adding the Mobius C2 Camera: After modifying the camera mount I had to try it. Wouldn't you?
 |
| Mobius C2 Action Cam on the Dromida Vista |
Did I try and fly it with the Mobius Action Cam on it..? Sure did!
I couldn't wait to try it! Even if the conditions were not especially ideal with all the weight I had added to her. And this is how that very short attempt went that night...
The Mobius along with the larger battery was really too much weight for this little guy, especially in those windy conditions. But that brings me to my next modification. I didn't want the camera, either the Drone View or Mobius, dragging on the ground.
Landing Gear modification: Again I haven't seen this one posted about online yet but for what I wanted it was like it was made for it.
The landing mod parts are actually meant for RPM's LaTrax Alias as an upgrade to it's landing gear. Once I saw them I knew I could make them work somehow. And they work and fit like a glove.
I gained about .5 inches in height. Perfect additional clearance for either camera.
In the first photo in this post as well as the below images you can see how it looks as well as the additional clearance I added. That and it adds some suspention to the craft which is nice when landing with either camera.

 |
Plenty of clearance even with the Drone View Lens pointed down
|

To do this mod it's easy just not as easy as the other mods. But the steps are as follows:
First carefully removed the motor/landing gear from the Vista, there's instructions on how to do this in the manual for replacing the motors. Carefully pull the landing gear motor covers off. There is a connector inside. Just loosen it up and push the motor down as you pull the landing gear off. Use a tiny screw driver between the slots and on the bottom of the motor.
Inside the Vista landing gear there is a plastic screw which holds the rubber feet on. Un-screw it and remove the rubber feet. Save these parts in a small plastic bag for the future.
To install the Alias Landing gear upgrade you will need a 1.27 millimeter allen key. If you don't already have a set of allen wrenches now is a great time to buy one. Harbor Freight was the only place that had a kit of metric allen wrenches that included a 1.27mm wrench. About $7 for one of the sets.
The Alias Landing Gear upgrade kit includes all you need. The screw and washers are the perfect size. The washer fits perfectly inside... it's just a matter of getting the screw through the hole in the washer once it's inside. Once you do, then just scew the landing gear on. And your done.
Tip: First screw the provided screws into the landing gear about half way to making sure they thread in straight. Then unscrew them and attach them to the Vista. It makes it easier the second time threading them in.
Snug them up once you have them going and then make sure they are where you want. Then tighten them up. Don't over tighten them. Tight not too tight!
 |
| Mods done and ready to take out for a run! |
Once your done - add the camera back on and take her out for a spin!
What's next for my Vista? Hmmmm...?
I've since made some more mods. Not to the Vista itself.
First Mod was to the supplied Dromida MR100 SLT TX that comes with the Vista.
I didn't like the sticks as they were, I wanted thumb pads but they don't make any for it so I made some myself. The below image show the original and my custom thumb pad.
 |
Original sticks were small and crowned.
Custom thumb pads feel real nice.
|
 |
| The tool I used to drill out the screw caps. |
When they just fit over the shaft they fit real tight. I mean real tight till they get to the top. Then glue in place, put the lid on the screw cap and wah la! You'll have custom thumb pads for your Vista TX.
 |
| Custom thumb pads on the Dromida Vista MR 100 TX |
Since I added the new feet to my Vista it no longer fit in the box it came with. It needed a case. Harbor Freight sells an Aluminum case with pinch out foam inside that is not too expensive and works great as a carry all case for a small quadcopter including my modified Vista FPV.
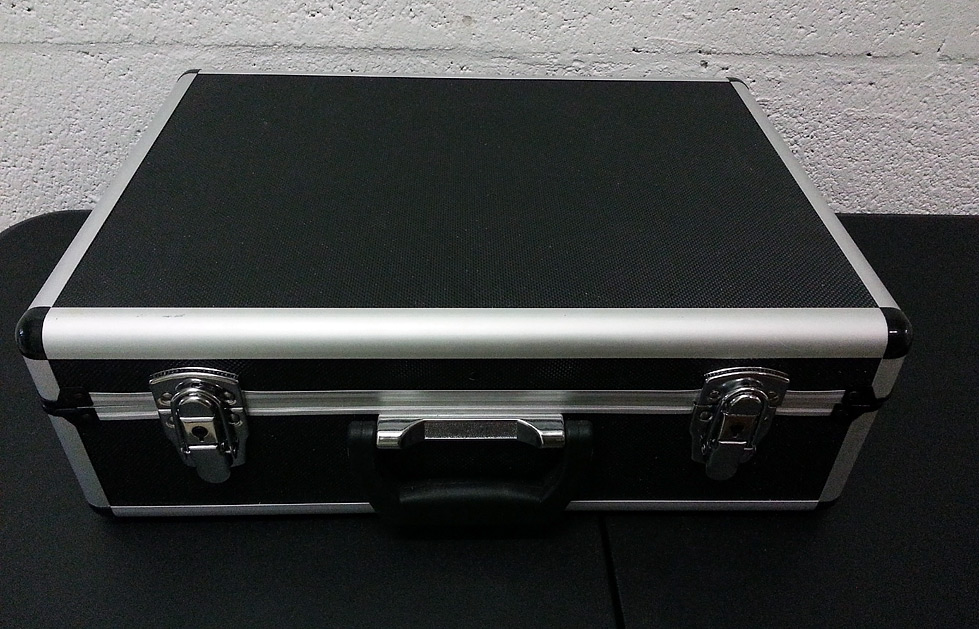 |
| Harbor Freight locking Tool Case with pinch out foam |
It also gave me a chance to try out my home made foam cutting tool to fit everything in a little better.
Here's a link to the post on DIY Hot Wire Cutting Tools if you want to read how to make your own.
 |
| Dromida Vista FPV with extra's all loaded and ready to take with. |
I put the owners manual in the lid behind the foam. There's even a shoulder strap that comes with the case if you like.

That's all the mods for now...
Till next time,
Keep those props turning and renders burning...
(man that sounds lame...!)
Have fun guys and gals.
- chase -
Nice mods there 👍
ReplyDeleteI just purchased an FPV and UAV Vista Drone and love those leg extensions,, they look like they were made for it.
Thanx CoolFire! They worked out real nice.
DeleteFunny, shortly after I made this post some company started making the same style legs specifically for the Vista. I forget who, but if you search the net, you may find them. Otherwise, just use the ones for the LaTrax Alias as I did.
Happy Flying!
Cheers...